
The Astro A50 gaming headset is a popular choice among gamers for its exceptional audio quality and comfort. However, like any electronic device, it can encounter issues from time to time. One common problem that some users may face is the Astro A50 headset not turning off when it should. This issue can be frustrating, but there are several troubleshooting steps and solutions you can try to resolve it. In this comprehensive guide, we’ll walk you through the steps to diagnose and fix the problem of your Astro A50 not turning off.
Understanding the Astro A50 Headset
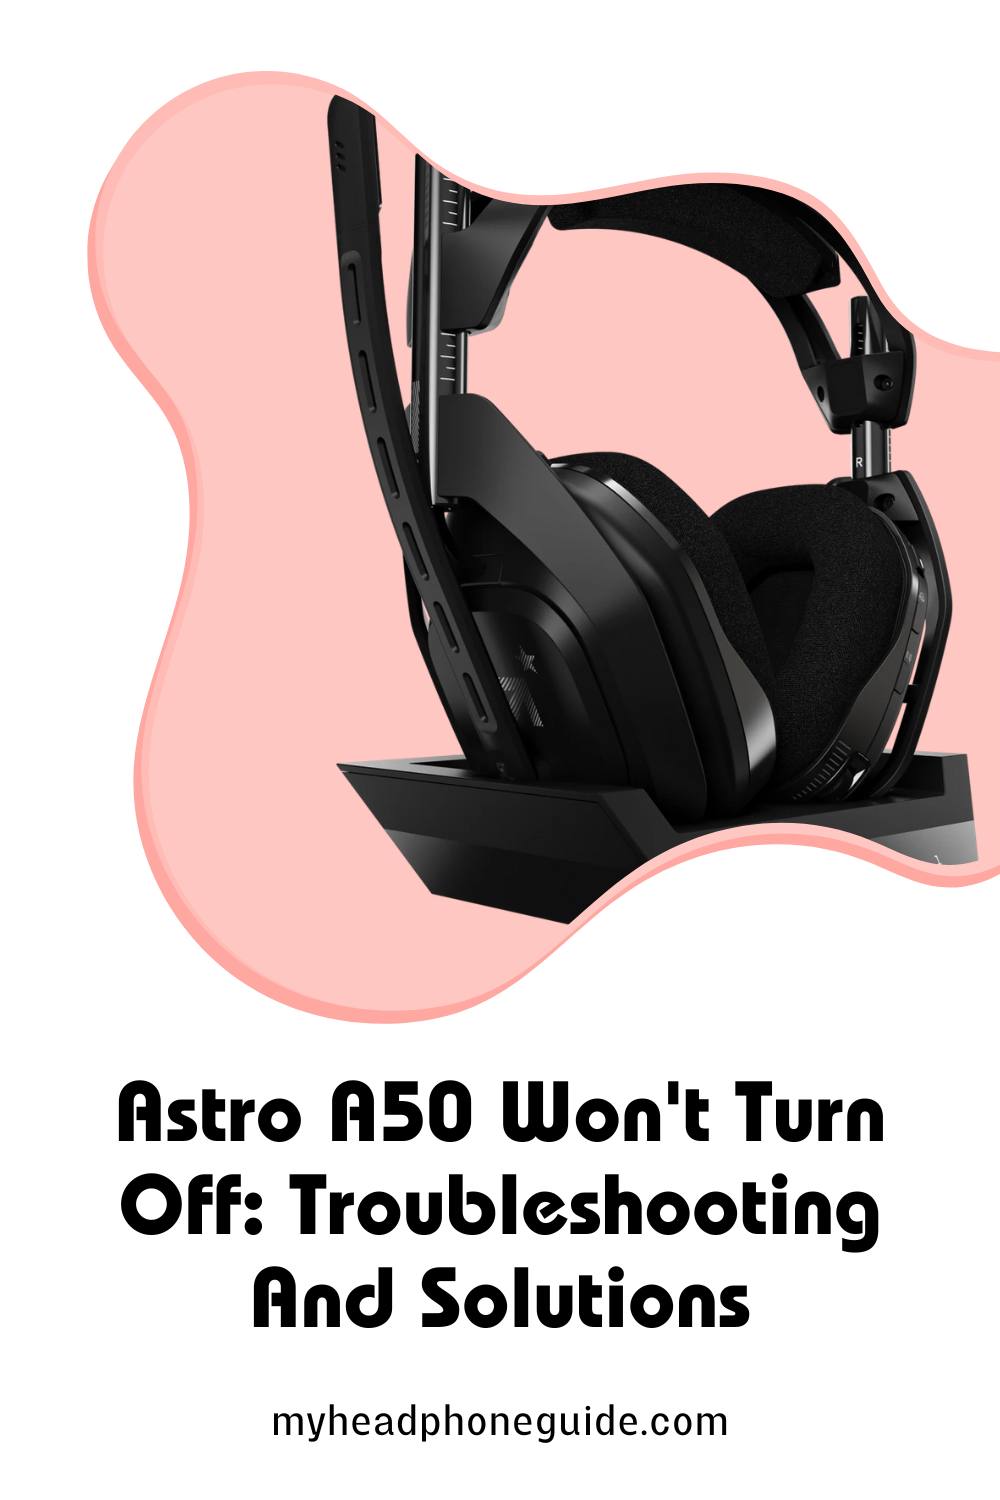
Before we delve into troubleshooting the issue, let’s first understand the Astro A50 headset and its features. The Astro A50 is a premium wireless gaming headset designed for use with various gaming platforms, including PC, Xbox, and PlayStation. It is known for its high-quality audio, comfortable fit, and customizable settings. The headset has power buttons, volume controls, and other features that allow you to adjust the audio to your liking and turn it on and off.
The Astro A50 headset has a built-in rechargeable battery, which is typically responsible for powering the device. When the battery is low or the headset is not in use, it should turn off automatically to save power. However, if you find that your Astro A50 won’t turn off, it can be due to various factors. Let’s explore the possible reasons and troubleshooting steps to resolve the issue.
Possible Causes of the Astro A50 Not Turning Off
When your Astro A50 headset doesn’t turn off as expected, it can be caused by several factors. Understanding these potential causes will help you diagnose the issue more effectively. Here are some common reasons why your Astro A50 won’t turn off:
- Firmware Issue: Outdated or corrupted firmware can lead to various problems, including issues with power management. If your headset’s firmware is not up to date or has become corrupted, it may cause your A50 to remain powered on.
- Sticky Buttons: Over time, the power and other control buttons on your headset can become sticky or unresponsive. This can prevent you from turning off the headset as intended.
- Charging Issues: Problems related to charging or the battery can affect the headset’s ability to turn off. If the battery is not charging properly, the headset may not enter a low-power state when not in use.
- Interference: Wireless interference or connectivity issues can disrupt the headset’s normal operation, including its ability to power down.
- Software Glitches: Software issues on your gaming platform, such as your PC, Xbox, or PlayStation, can interfere with the headset’s power management.
Troubleshooting Steps to Fix the Issue
Now that we’ve identified the potential causes of the problem let’s dive into the troubleshooting steps to fix the issue of your Astro A50 not turning off. Follow these steps one by one, testing your headset after each step to see if the problem has been resolved.
Step 1: Check for Firmware Updates
One of the first things you should do is ensure that your Astro A50 headset is running the latest firmware. Updating the firmware can often resolve power management issues and improve the overall performance of your headset. Here’s how to check for and install firmware updates:
- Connect your Astro A50 headset to your PC using the provided USB cable.
- Download and install the Astro Command Center software from the official Astro Gaming website if you haven’t already.
- Launch the Astro Command Center.
- If a firmware update is available, the software will prompt you to install it. Follow the on-screen instructions to update the firmware.
- Once the update is complete, disconnect the headset from your PC and test if the issue is resolved.
Step 2: Check for Button Issues
Sticky or unresponsive buttons can prevent your headset from turning off correctly. To check if this is the issue, follow these steps:
- Examine the power and control buttons on your Astro A50 headset for any physical damage or stickiness.
- If you find any issues, try cleaning the buttons with a small amount of rubbing alcohol and a cotton swab.
- Test the buttons to see if they respond properly. If they don’t, consider contacting Astro Gaming’s customer support for further assistance.
Step 3: Verify Charging and Battery Status
Problems with charging or the battery can affect the headset’s power management. Follow these steps to ensure that your headset is charging and that the battery is functioning correctly:
- Connect your headset to the provided charging cable and ensure it’s properly connected to a power source.
- Look for the LED indicator on the base station. It should show that the headset is charging. If it’s not, try a different USB port or power adapter.
- Allow the headset to charge fully before testing if it turns off when not in use.
- If you suspect a battery issue, contact Astro Gaming’s support for further assistance or consider replacing the battery.
Step 4: Check for Interference
Wireless interference can disrupt your headset’s normal operation. To minimize interference and improve connectivity, follow these steps:
- Ensure that no other wireless devices are operating in close proximity to the headset or the base station. Devices like wireless routers and cordless phones can interfere with the headset’s signal.
- Reposition the base station to a different location, away from potential sources of interference.
- Test the headset after making these adjustments to see if it powers off correctly.
Step 5: Test on Different Platforms
To rule out software glitches on your gaming platform, test your Astro A50 headset on a different platform (e.g., if you primarily use it on Xbox, test it on a PC or PlayStation). This will help you determine if the issue is platform-specific or if it occurs across multiple devices.
- Connect your headset to a different gaming platform and see if the issue persists.
- If the problem doesn’t occur on the second platform, the issue may be related to your primary gaming platform’s software or settings.
- Check for any software updates or settings adjustments on your primary gaming platform that may be affecting the headset’s power management.
Step 6: Reset the Headset
If none of the previous steps have resolved the issue, you can try performing a factory reset on your Astro A50 headset. Keep in mind that this will erase all custom settings and configurations, so make a note of your preferences before proceeding.
- Connect the headset to your PC using the USB cable and open the Astro Command Center.
- In the Astro Command Center, go to the “Settings” tab.
- Scroll down and find the “Restore” option.
- Click on “Restore” and follow the on-screen instructions to perform a factory reset.
- After the reset is complete, disconnect the headset and test if it turns off properly.
Step 7: Contact Astro Gaming Support
If you’ve tried all the above steps and your Astro A50 headset still won’t turn off, it’s time to reach out to Astro Gaming’s customer support. They can provide further assistance, diagnose the issue, and offer solutions tailored to your situation. Astro Gaming’s support team is known for being helpful and responsive, so don’t hesitate to contact them for help.
Conclusion
Having your Astro A50 headset does not turn off when it should be frustrating, but with the right troubleshooting steps, you can often identify and resolve the issue. Whether it’s a firmware update, button cleaning, or checking for interference, following these steps should help you get your headset back to normal functioning.
Remember to be patient and methodical while troubleshooting, and don’t hesitate to seek assistance from Astro Gaming’s customer support if you’re unable to resolve the problem on your own. By following the steps outlined in this guide, you’ll be well-equipped to tackle the issue of your Astro A50 not turning off and enjoy uninterrupted gaming sessions once again.
You might also like,
Beats Solo One Side Not Working Bluetooth: Troubleshooting and Solutions